DIY Crystal Bracelet: A Combination of Creativity and Spirituality

Welcome to the Lumireiki blog! Today, we will delve into the enchanting world of DIY crystal bracelets—where creativity meets spirituality. At Lumireiki, we believe that the power of crystals extends beyond their physical beauty; they offer us a pathway to healing and self-discovery. So gather your tools, and let’s get crafting!
The Power of Crystals
Crystals have been used for centuries in various cultures around the world for their unique properties and energies. Each type of crystal resonates with different frequencies that can influence our emotional and physical well-being. When you create a bracelet using these powerful stones, you’re not just making a fashion accessory; you’re crafting a personal talisman filled with intention and healing energy.
Selecting Your Crystals
Start by choosing crystals that resonate with your personal journey. Here are some popular options and their attributes:
Amethyst: Known for promoting calm and clarity, amethyst is perfect for those seeking peace and spiritual growth.
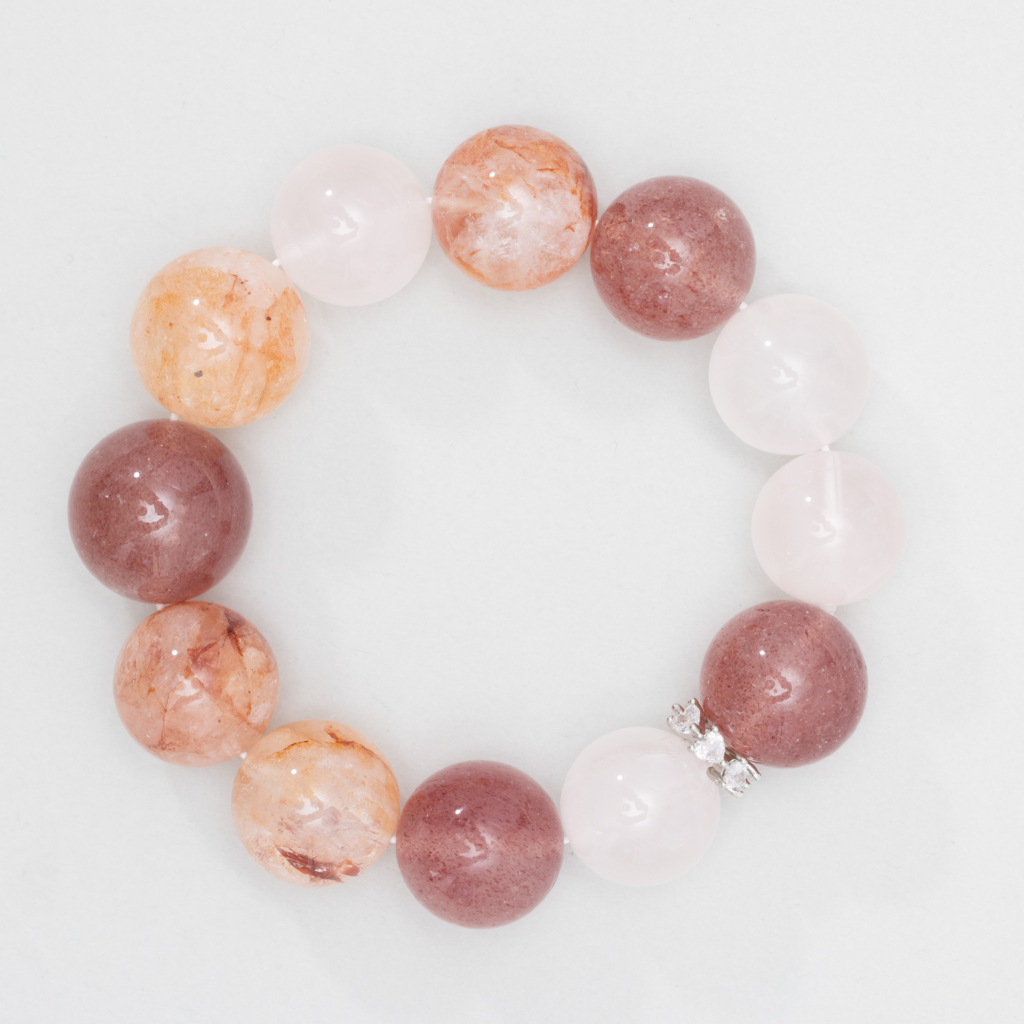
Rose Quartz: The stone of love and compassion, rose quartz can help open your heart to self-love and emotional healing.
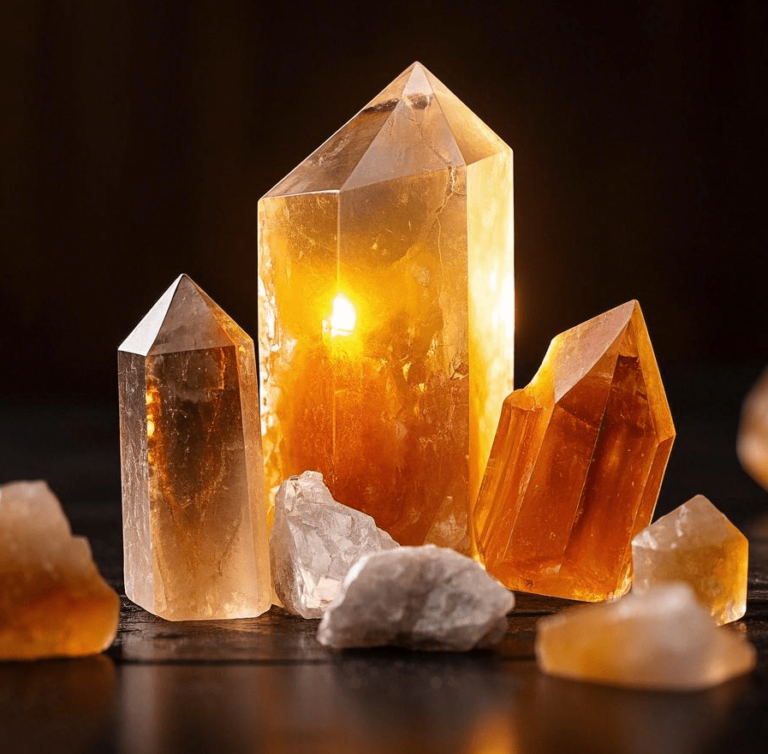
Citrine: This vibrant crystal is associated with joy and abundance, making it ideal for attracting positivity into your life.
Once you’ve chosen your crystals, it’s time to gather the necessary materials!
Materials Needed
A selection of crystals
Elastic string or wire
Scissors
Optional: charm beads, spacer beads, or additional decorative elements
Step-by-Step Guide
- Design Your Bracelet: Lay out your chosen crystals in the order you want them on your bracelet. This is a great time to let your intuition guide you—mix and match colors and sizes, and include any charms that hold special meaning for you.
- Measure Your Wrist: Cut a length of elastic string or wire that is about 2 inches longer than your desired bracelet length. This extra length will allow for tying knots or beading.
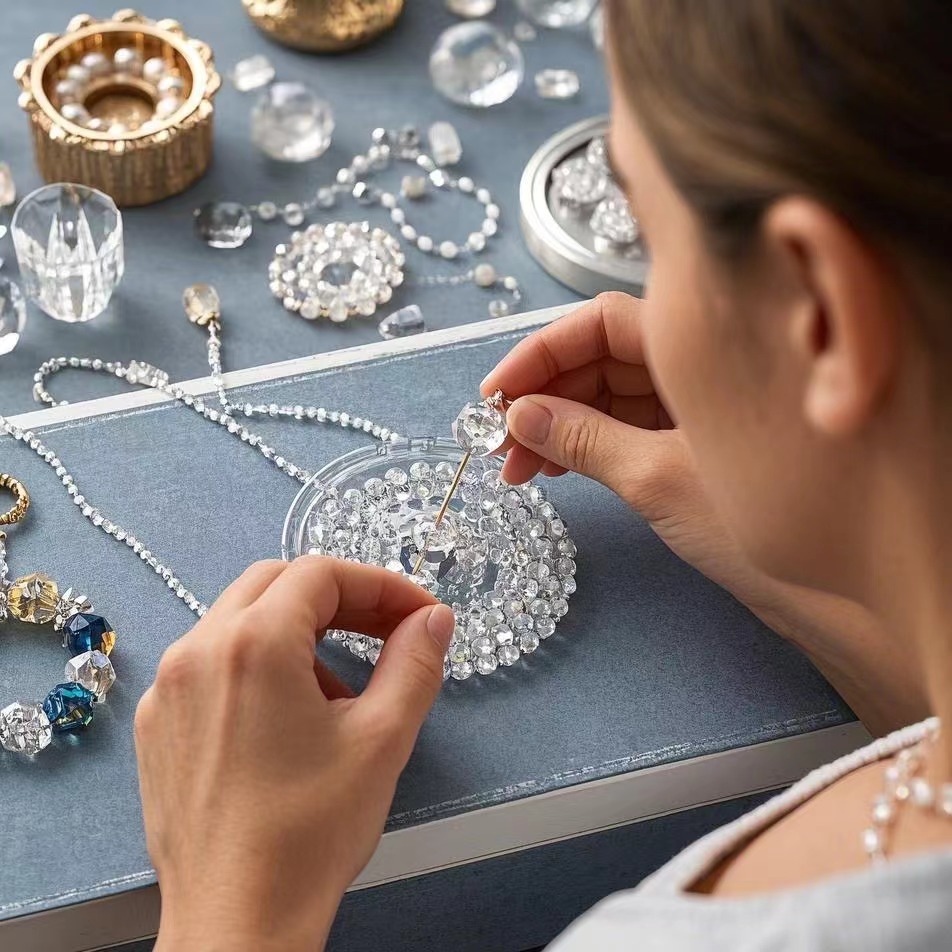
- String the Crystals: Begin threading your crystals onto the elastic string. If you’re using spacers or charms, you can alternate them between the crystals to enhance your design.
- Knotting the Bracelet: Once all your crystals are on the string, tie a secure knot. If you’re using elastic string, make sure it’s tight enough so the bracelet holds its shape without being too loose. For wire, you may need to use crimp beads to secure the ends.
- Set Your Intention: Before wearing or gifting your bracelet, take a moment to hold it in your hands and set your intention. Focus on what energy you wish to invite into your life and visualize that energy flowing into the bracelet.
- Wear & Enjoy: Your DIY crystal bracelet is now ready to wear! Not only is it a beautiful accessory, but it also serves as a reminder of your personal journey and intentions.
Embrace Your Creativity
Creating a DIY crystal bracelet is not just about the end product; it’s an opportunity to connect with yourself and the energies you wish to cultivate. Whether you’re looking to enhance your meditation practice, improve your everyday life, or simply enjoy the act of crafting, this project offers a wonderful way to harmonize creativity and spirituality.
At Lumireiki, we celebrate the unique journey of each individual and the powerful healing that crystals can provide. We hope this DIY crystal bracelet project inspires you to explore your creativity and the spiritual benefits of these magnificent stones.